What These Brushes Are And Why They Work
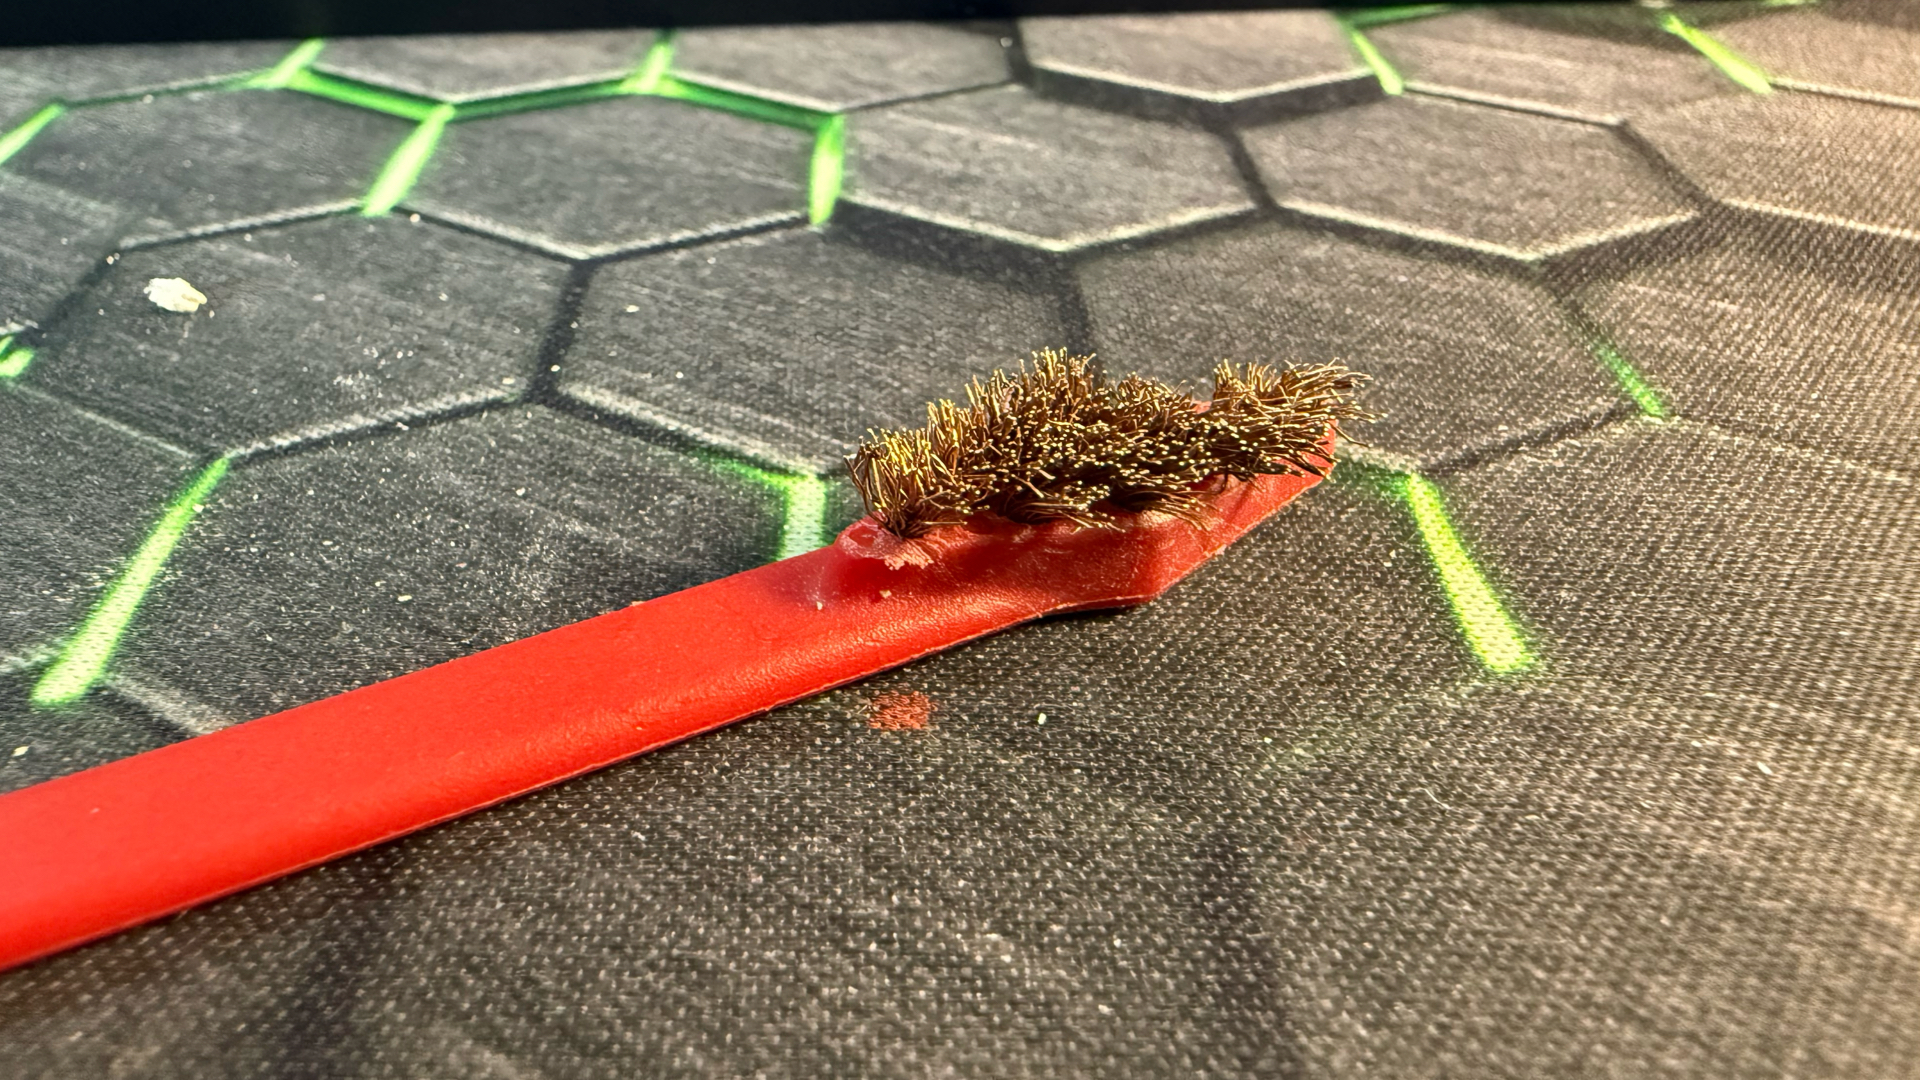
The Real Avid Smart Brush Set is a firearm maintenance product. The set includes eight brushes — four made of phosphor bronze and four made of nylon — in four different head shapes. Each brush uses what the manufacturer calls “micro bristles,” meaning shorter, denser bristles that stay rigid under pressure instead of flexing away from the surface. Several of the brushes also include an integrated plastic scraper at the back of the head, which becomes surprisingly useful for prying off cured filament strings.
The set is made in the USA and is sold as a gun-cleaning accessory, which is worth saying out loud: this is not a 3D printer product. There is no marketing about hot ends, no claims about heat resistance, and no instructions for printer use. Everything in this review is my own experience adapting them to a task they were never designed for.
Three traits make this set work for printer maintenance. The first is bristle stiffness. Most 3D-printer-marketed brushes either shed bristles into the hot end or flex too easily to dislodge anything stubborn. The Realavid brushes keep their shape under real pressure, which is what you actually need when scrubbing carbonized filament off a brass nozzle.
The second is size variety. The four different head shapes give access to corners, slots, and recessed areas where a single round brush would just glide past the debris. Cleaning around a heat break, between motor fins, or along a linear rail carriage each wants a different shape.
The third is the bronze/nylon split. Bronze is hard enough to clear baked-on filament from a brass nozzle but soft enough not to score steel components. Nylon is safe for electronics, painted surfaces, anodized aluminum, and anywhere static or scratching is a concern. Having both materials in the same set means you are not switching tools mid-job.

Cleaning The Nozzle And Heat Break Area
This is where the set earns its keep. After a print, especially with anything sticky like PETG or TPU, the nozzle and the area around the silicone sock builds up a fused crust of plastic. A bronze brush handles this almost entirely on its own.

My routine: heat the nozzle to roughly the printing temperature of the last filament used, then drop it about 20°C below that. The plastic is soft enough to release, but the metal is cool enough to handle the brush without immediate damage. Hold the printer head steady, and brush downward and away from the heat block. The pointed bronze brush gets into the recess where the heat break meets the heat block, which is exactly where strings accumulate and bake into a black crust over time.
The integrated scraper at the back of the brush is the secret weapon here. A blob of cured filament that refuses to brush off will usually pop free with one or two passes of the scraper edge.


Cleaning Drives, Rails, And Lead Screws
Lead screws and linear rails collect a film of old grease mixed with plastic dust and shop debris. Left alone, this turns into a gritty paste that wears bearings and increases motor load. The nylon brushes work well here because they will not score the polished surfaces of a rail or the threads of a lead screw.
For lead screws, I run a nylon brush along the threads with the printer powered off and the screw rotated by hand. The brush pulls dried grease and contamination out of the thread valleys without removing the deeper layer of lubricant that should stay. Wipe with a lint-free cloth afterward and reapply lubricant if you stripped too much.

For linear rails, the angled and flat nylon heads slide along the carriage edges and rail surface to pull debris out of the ball bearing track. Pair this with a vacuum or compressed air to remove the dislodged material before it migrates somewhere worse.
Cleaning Motors And Fans
Stepper motors and printer cooling fans collect dust at a rate that always surprises people who have not opened up a printer in six months. Dust on motor housings traps heat. Dust on fan blades reduces airflow, which reduces cooling, which causes layer adhesion problems and heat creep. This is exactly where the nylon brushes shine.
For motor housings, the rounded nylon brush sweeps along the fin gaps without snagging.
Then use the angled nylon brush to clean each blade individually. The pointed nylon head is small enough to reach behind the blade hub and clean the central spindle area where the heaviest dust collects.

A short blast of compressed air after brushing finishes the job. The order matters: brush first to break the dust loose, then blow it out. Air alone tends to pack stubborn dust deeper into the fan housing.
Cleaning Belts And Pulleys
Belts are the surface most people never clean. Filament dust and stray debris embed in the rubber teeth and the pulley grooves, and over time this causes slip, layer shift, and uneven tension. The flat nylon brush rides cleanly along the belt teeth without dislodging the belt from its path. The pointed nylon brush gets into the pulley grooves, where compressed air alone often misses the embedded material.
Belt cleaning is not a frequent task. Once every couple of months is usually enough, but when a printer starts producing layer shifts that are not caused by stepper current or mechanical binding, dirty pulleys are an easy thing to rule out first.

Hot vs. Cold Cleaning — Safety Notes
The honest version: There are two valid approaches and they serve different purposes.
| Cold Cleaning | Warm Cleaning |
| Safer default for everything except the nozzle and heat block. Cool the printer fully, disconnect from mains if you are working near electronics, and brush at room temperature. This is the right call for every cleaning task on this list except baked-on filament around the hot end. | Applies only to the nozzle area. The trick is bringing the hot end to a temperature where the plastic is soft but the metal is no longer at full print heat. For PLA, that is roughly 100°C — warm enough to release the plastic, cool enough to brush without immediate burn risk. For PETG or higher-temp materials, scale accordingly: roughly 20°C below print temperature. |
Suggested Maintenance Schedule
Here is the routine I use. Adjust based on how often you print and how dusty your environment is.
| Weekly (or every 4–5 prints, whichever comes first): | Monthly: | Every 2–3 months: |
| – Bronze brush — exterior of nozzle and heat block, while warm – Nylon brush — part cooling fan blades, while cold – Nylon brush — quick pass on linear rails near the carriage | – Nylon brush — full lead screw thread cleaning – Nylon brush — motor housings and heat sinks – Nylon brush — electronics bay fans and intake grilles | – Nylon brush — belts and pulleys – Bronze brush — deep clean of the heat block underside |
- Size range covers tight spaces The four head shapes reach into nozzle recesses, motor fins, and rail carriages where one-size brushes glide past the actual problem.
- Build quality holds up After months of use across nozzle cleaning, lead screws, motors, and fans, no shedding, no loose bristles, no handle failures.
- Solid value for what you get Eight brushes in one set replaces several specialty brushes I had been buying individually.
- Bronze and nylon mix Having both metals covered in the same kit means no switching between brands or sets mid-job.
- Integrated scrapers earn their place Useful for stubborn cured filament where bristles alone would not break the bond.
- Bristles only reach so far On printers with deeply recessed hot ends or fully enclosed heat break geometry, the brush heads cannot reach the deepest sections. Excellent for exterior nozzle, heat block, and surrounding area — not a replacement for cold pulls or internal hot end cleaning.
- Not marketed for 3D printing No printer-specific guidance from the manufacturer, so any printer-adjacent use is at your own discretion.
Most of this takes under ten minutes once you stop thinking about it. The hard part is starting the habit; the brushes just make the habit faster.
Cost vs value
Ease of use
Comments